How-to: Add Raffle or Sweepstakes Entries You’ve Sold Offline
Add offline entry purchases to your Raffle or Sweepstakes entry records so donors can participate offline.
If you’re selling Raffle or Sweepstakes entries offline in addition to the entries being sold online, you’ll need to add these entries to your records in RallyUp. This will ensure that all entries are included when you draw a winner.
Before You Begin
- The Manage Outside Raffle/Sweepstakes Entries option will be available in Campaign Management once your Campaign is published.
- All free entries for your Sweepstakes must be mailed in using the free entry link in the official rules section of your Sweepstakes page. For more information, see this Knowledge Base article: Understand: Sweepstakes Free Entries.
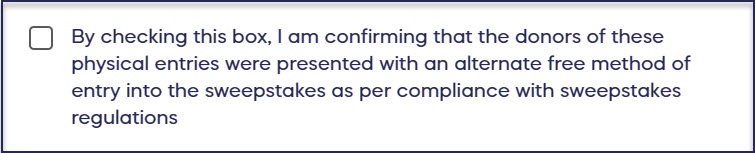
- If you’re adding Sweepstakes entries, you’ll need to confirm that the donor was informed of the free entry option before they purchased their entries offline. This helps you comply with local and federal laws and regulations.
Entry Numbers
The system will ask for the start and end numbers for the entries that were sold to each person. You can have the system automatically assign entry numbers or manually assign your own entry numbers:
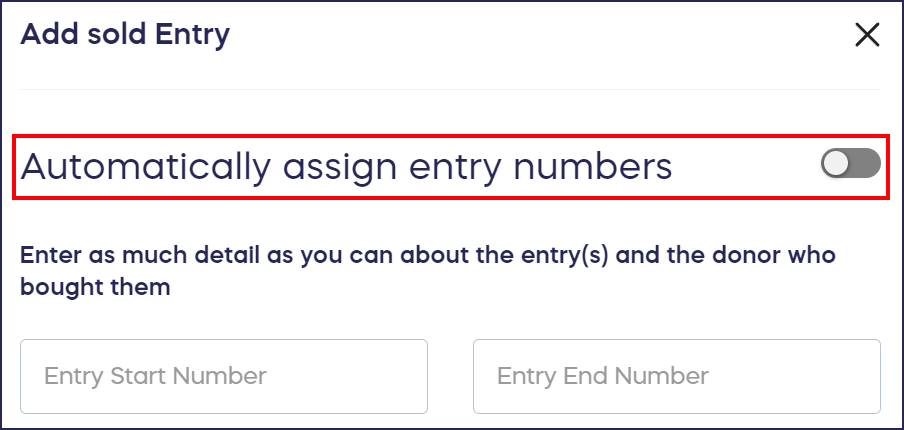
Note that if you manually assign your own entry numbers, you won't need to include the prefixes. To learn more about entry number prefixes and how entry numbers are automatically assigned, see this Knowledge Base article: Understand: How Raffle and Sweepstakes Entry Numbers are Assigned.
Add Entry Purchases One at a Time
- Go to Campaigns in the left menu.
- If you have chosen a list view, click on the Campaign title. If you have chosen a grid view, click on the Campaign image.
- Select Manage Outside Raffle/Sweepstakes Entries.
- Click on ADD TICKETS, then select Add single entry purchase.
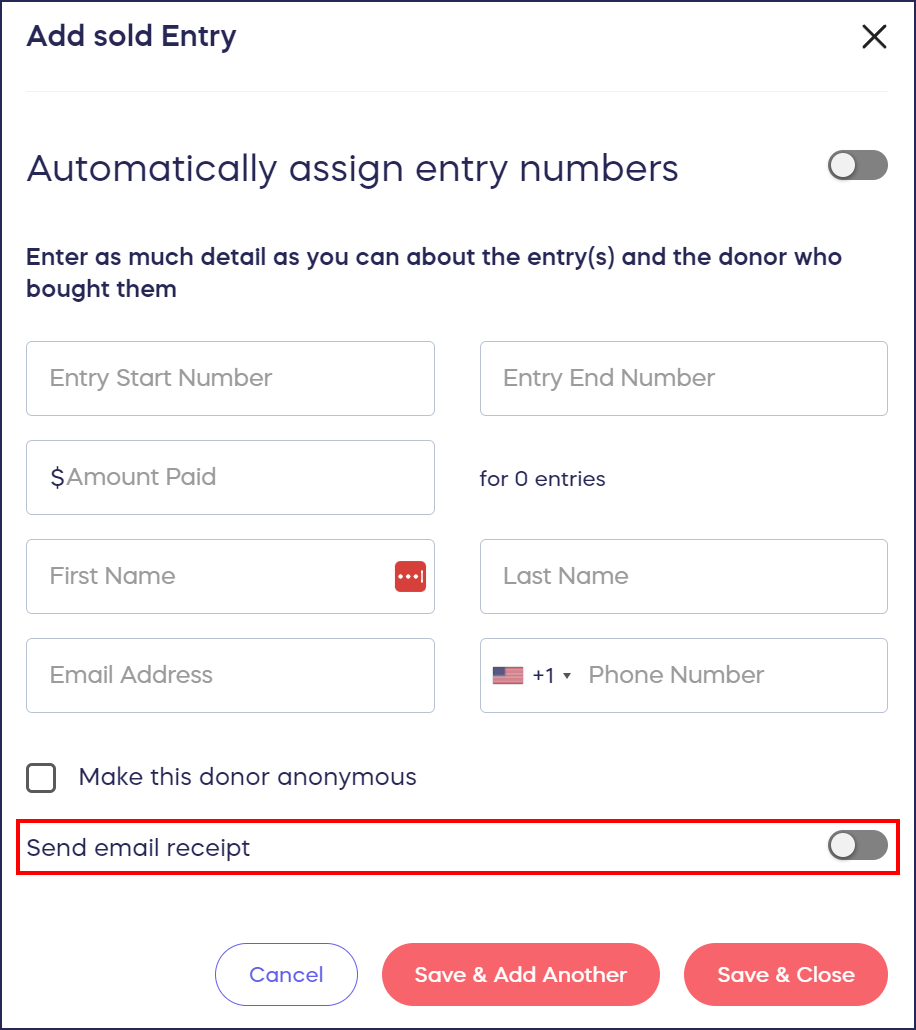
- The following form will appear in a pop-up window:
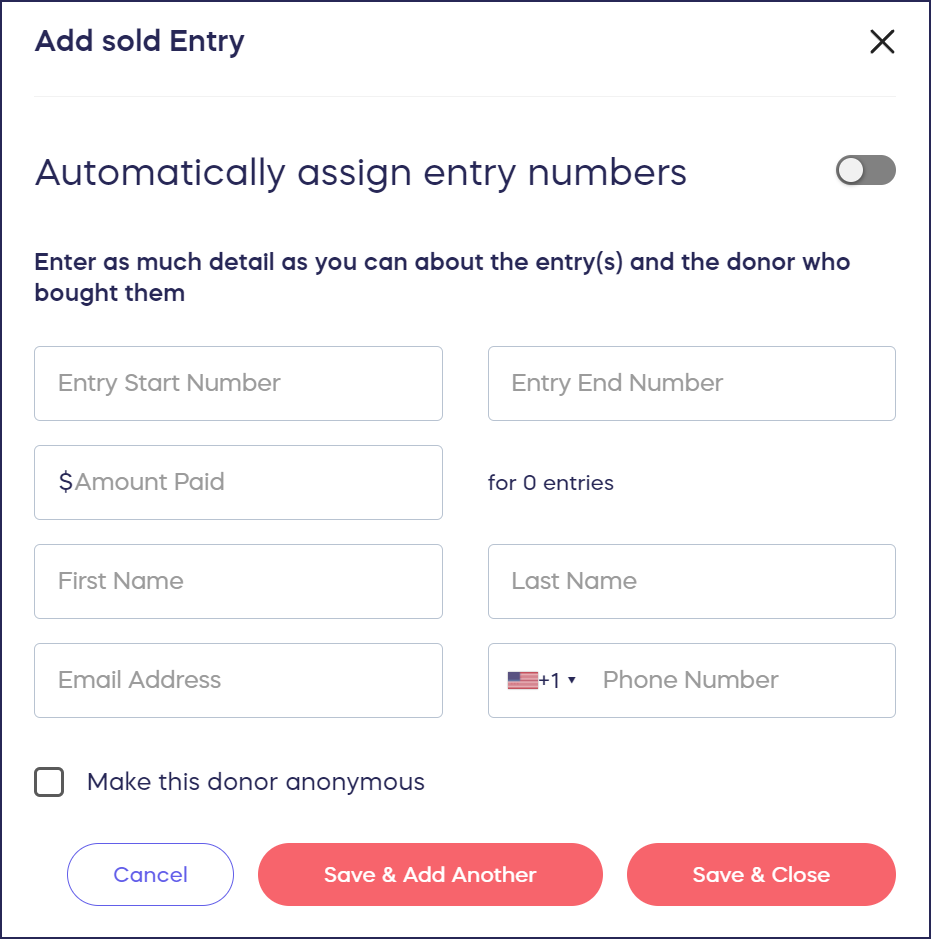
- Fill out the form to the best of your ability. The more information you provide, the more complete your records will be.
- When you’re done, select Save & Close to exit out of the pop-up form, or select Save & Add Another if you want to enter more entry purchases.
Import Multiple Entry Purchases
If you plan to sell many entries offline, we recommend downloading our import template when your Campaign starts. This will allow you to add all sales to the template and import them in just a few steps rather than one at a time.
- Go to Campaigns in the left menu.
- If you have chosen a list view, click on the Campaign title. If you have chosen a grid view, click on the Campaign image.
- Select Manage Outside Raffle/Sweepstakes Entries.
- Click on ADD TICKETS, then select Import multiple entry purchases.
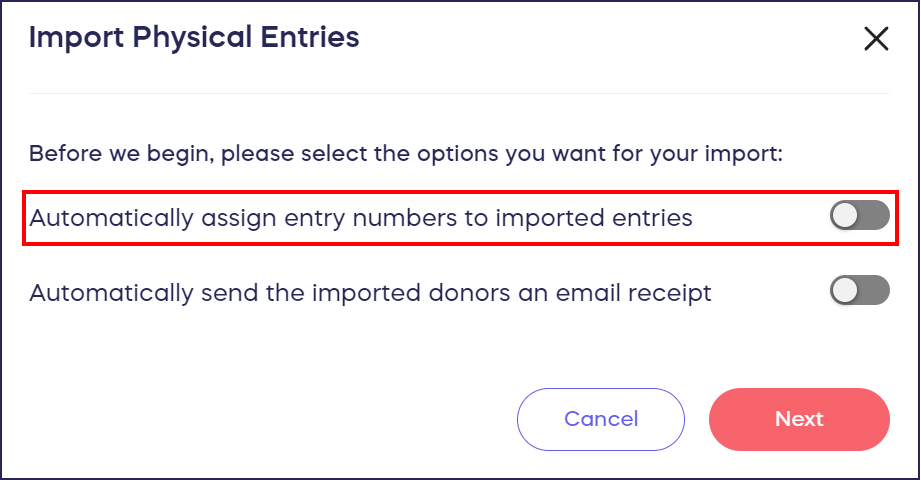
- This will bring up a pop-up window:
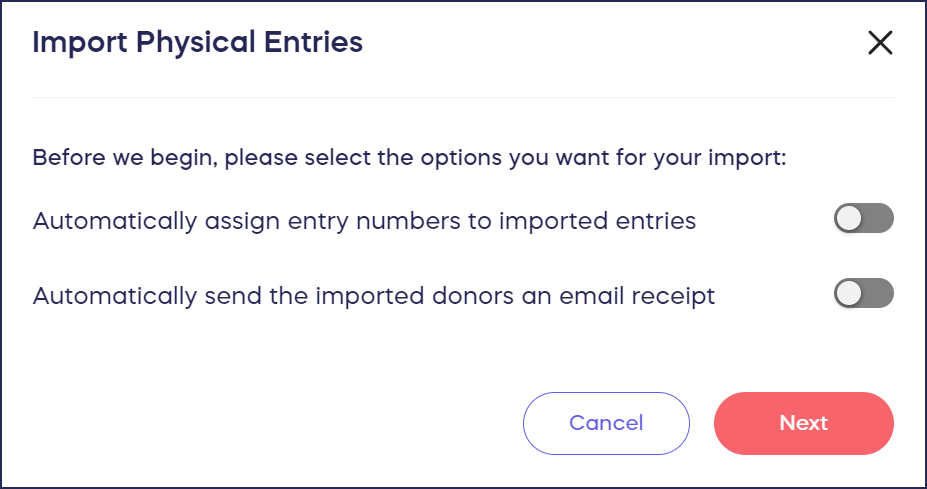
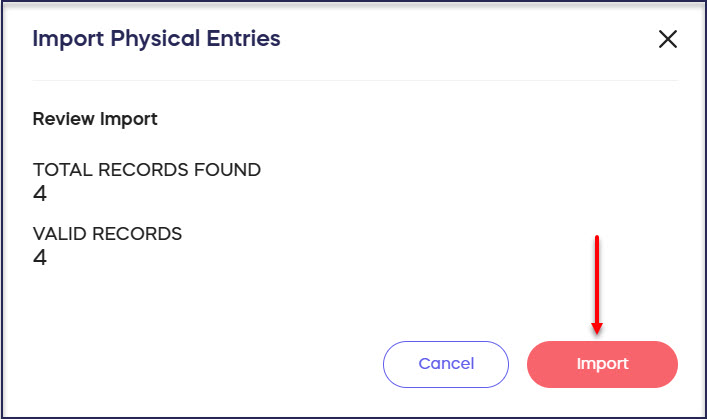
- Follow the instructions in the pop-up step by step until you successfully upload all entry purchases.
- When you’re done, select Import.
Send Email Receipts
When you add offline entry purchases to your records, you can opt to send an email receipt:
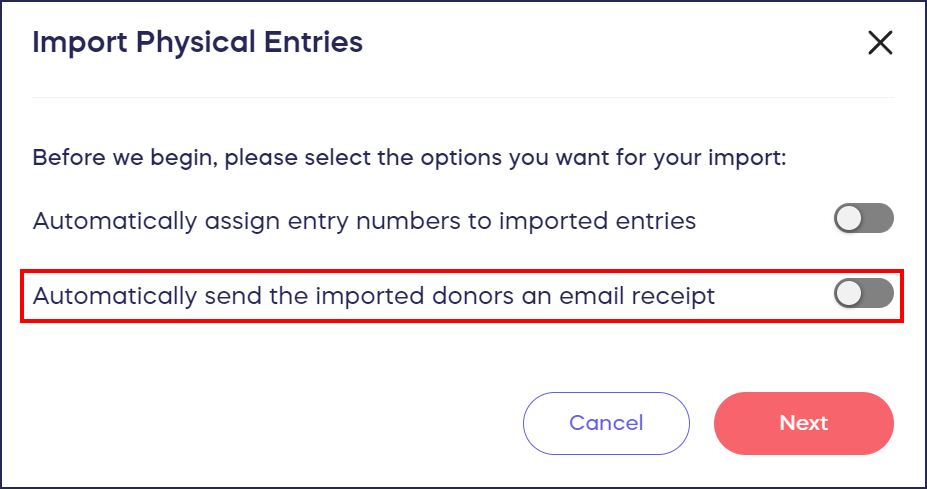
Receipts contain a payment summary and entry numbers. This is ideal if you're announcing a winner at a future date and donors need to save their entry numbers for later. You'll need the donor's email address in order to send an email receipt, so we recommend collecting the donor's email address when they purchase their entries.
Good to Know
- If you have any issues importing multiple entries, see this Knowledge Base article for troubleshooting tips: Insights: Troubleshooting Import Errors.
Have more questions? Submit a ticket