How-to: Add Sales Tax to Experience Purchases
Automatically add sales tax to item purchases to comply with local laws and regulations.
Some states require that sales tax be added to any purchases made through your fundraisers. If you’re selling taxable items, you may need to report these purchases to the state and pay taxes. Be sure to check your state's rules and regulations before you start fundraising.
Sales tax can be applied to the following items:
- Store (Sale) items
- Auction items
- Crowdfunding Perks
- Event Tickets
- A-Thon or Peer-to-Peer registrations
Taxes only apply to purchased items. If a donor purchases an item and gives a donation at the same time, the sales tax will not be applied to the donation.
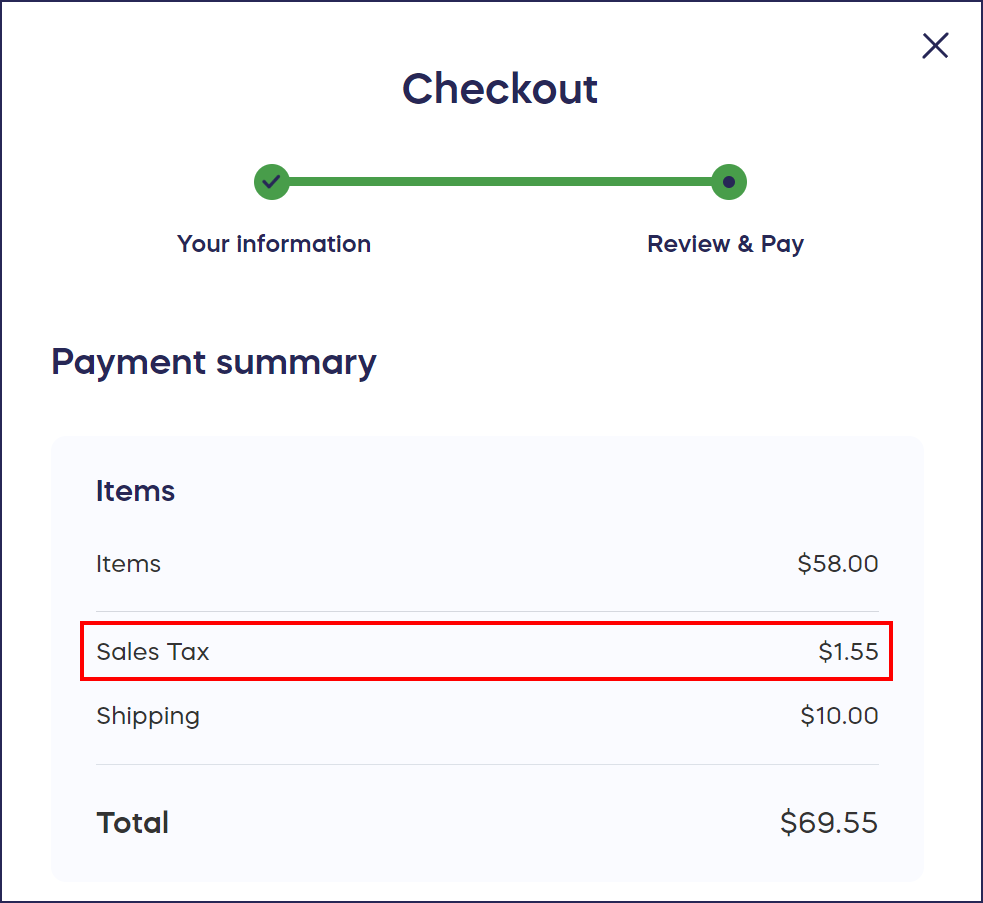
When enabled, sales tax will be automatically added at checkout:
Collect Sales Tax
- Select Experiences from the left menu.
- If you’ve chosen a list view, click on the Experience title. If you've chosen a grid view, click on the Experience image.
- Select Edit Experience*.
- Select the relevant Activity in the timeline at the top (e.g., if you're adding sales tax to an Auction item, select Auction).
- Scroll down to Do you want to collect sales tax for items?, check the box, and enter the sales tax amount:

- Select SAVE.
Good to Know
- If you're running an Experience as an Advocate or Corporate Social Responsibility program, you won't be able to add sales tax.
- If you add sales tax, you can use the View Donations report to track how much you've accumulated: View and Export a List of Donations and Donor Information.
*Terminology may differ according to Experience settings.
Have more questions? Submit a ticket